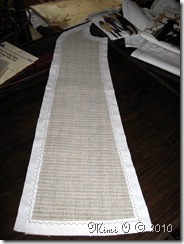
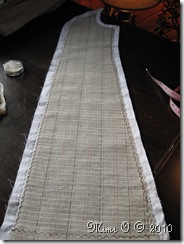
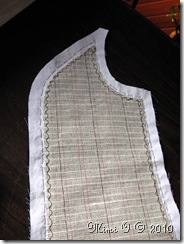
 My odyssey continues with the Lady Grey Sew-Along and sewing the hair canvas to my side front and front coat pieces. I have chosen a different technique for sewing my hair canvas in then what Gertie used on her blog, Gertie’s New Blog for Better Sewing. I didn’t like the thought of the added weight of the hymo (hair canvas) in my seams; the technique I utilized is attributed to Kenneth D. King from his book, Cool Couture. On page seventeen there is an information box titled “Installing Hymo the Easy Way” the author states:
Here’s an alternative to working with fusible interfacings – a method you
can use in tailoring or whenever you want to avoid stiffening a seam.
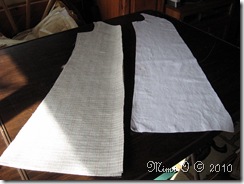
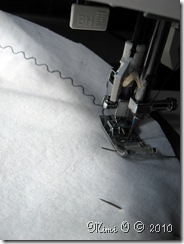
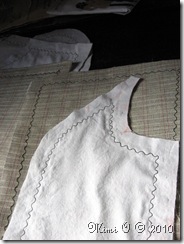
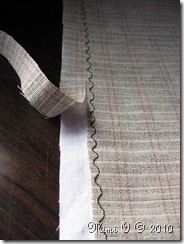
Basically your side front and front pieces are cut out of the hymo (hair canvas) as well as a “thin, cheap fabric.” I utilized my prewashed white muslin. You layer the pieces together and then sew a serpentine stitch one inch in from the sewing edge (if you don’t have a serpentine stitch you could use a zig-zag). You then trim the hymo seam allowance back to the stitching and flip the piece over and cut out the center area of the muslin leaving the hymo showing through like a window. This will be the side you lay down against the wrong side of the fashion fabric and baste.
Pictures of the Process:
When your garment is constructed and the seams are sewn the only material that gets caught in the seam allowance will be your fashion fabric and the thin, cheap fabric thus allowing your seams to not get bulked up by the hymo. This process worked out nicely with my jacket.
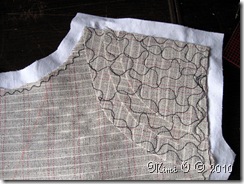
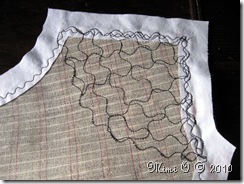
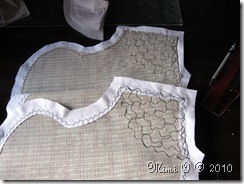 I also choose to add more support in the shoulder and followed the directions from “The Tailored Shoulder” chapter on page 117 in which I added shields to stiffen the shoulder and armhole area on the front of the jacket. Three layers of progressively smaller shields are cut out of the hymo alternating the grain/cross-grain of each shield. They are layered and then serpentine stitched as a whole to your front hymo piece.
Photos of Shoulder Shields:
Moving along… I have basted my hymo pieces to the fashion fabric and completed all of my pad stitching which I will show you in my next post along with my bound buttonhole.
Note: Remember to do your buttonhole prior to attaching your hymo (hair canvas) to your fashion fabric.
~Happy Sewing`

