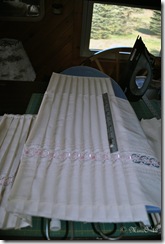
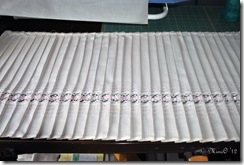
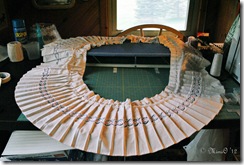
 I am finally getting close to having the Princess Slip # 0336 for the VPLL 1912 Sewing Project complete. The flounce has been a major contributor to increasing the amount of time spent on this project. Having completed my homemade pleating board I proceeded to pleat the flounce. In the pictures below you can see that my board was wide enough to fit the width of the flounce. Starting at one edge
 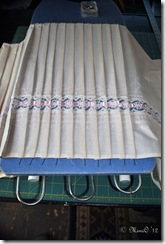 of the board I careful tucked the flounce into the pleats and then pressed them down. To aid in making sure the fabric was all the way into the pleat I used my metal ruler to slide in between and then pressed and moved the ruler down the pleat and then moved on to the next pleat. Once that area had been pleated the fabric was removed, pinned and pressed again on the ironing board. All pleating was allowed to cool completely before moving onto the next section of flounce.
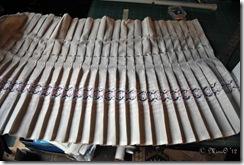
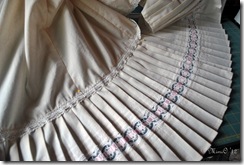
Here is the 17” wide flounce with all the pleats pressed in. I re-stitched the flounce at the top so that the pleats would not open up while the flounce was being attached to the slip.
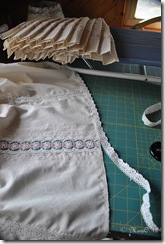 Being as I really didn’t follow the directions I also veered away from that again when it came to attaching the flounce at the base of the slip. Having previously serged all raw edges on my slip pieces the lower edge of the slip was already finished and ready for stitching on the insertion. The 3/4” insertion was laid out on the right side of my slip and stitched down. The raw-finished hem was turned under and stitched as if you were following the regular insertion directions.
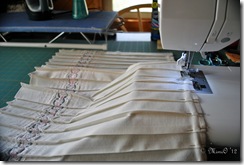
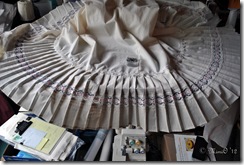
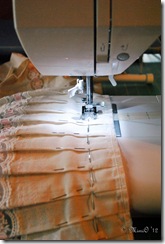
Next, I used Myrna and my metal rulers to get the measurements I needed to transfer over to the flounce. In the second picture below you can see where I ran a pinned line to mark off where I’d need to stitch the flounce on. I did not immediately match this up to the slip base instead I ran a line of straight stitching along the marked out pin line and then went back and serged the excess flounce fabric off.
The flounce was pinned onto the base of the slip again.
Below is another picture showing that I further fine tuned the flounce down some more using the same process with Myrna and the rulers as before. The measurements were once again transferred to the flounce and a line of straight stitching with serging the excess fabric off took place.
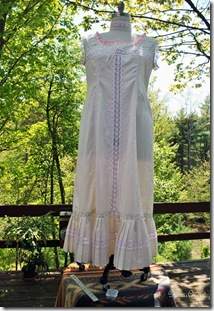 This was one of the more tedious processes with this pattern. Extreme patience and time is required when dealing with the flounce. The efforts are well worth all the fussiness with getting the fit for the length correct.
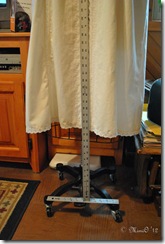
Here is the final fitting on Myrna. It was so beautiful out that I couldn’t resist placing a blanket on our deck table and taking Myrna outside for her final fitting. I just needed to make 1/4” adjustments in how the flounce hung prior to stitching to the base of the slip. Once the final adjustments were complete the right side of the flounce was pinned to the lower edge of the 3/4” insertion lace and stitched down from the right side. The raw edge of the flounce was turned back on the wrong side of the fabric and stitched. Thus finishing the slip.
For other individuals sewing this pattern I would recommend NOT cutting your flounce out until you have completed the upper portion of the slip and measured off how wide of a flounce you will need. I found having the flounce cut out at 17” wide to be an extreme waste of fabric. Of course with all that excess width you can adjust your slip for the desired length but that then creates the fussy adjustments that I had to make above. That fussiness compounded by the pleating. Because I wanted my slip 5-6” off the ground my final finished flounce, as attached to the slip, was 10” wide. It would have been much easier to have the flounce cut at an 11-12” width then discarding all the wasted fabric I did in adjusting the 17” flounce.
Join Myrna and myself for the final reveal in the the next post.
Happy Sewing….



No comments:
Post a Comment